
This would be a cinch if I knew how to sew, but if you've been reading this blog for any amount of time, you know that unfortunately that just isn't the case. But again if you have been reading this, you have probably also picked up on my love affair with iron-on hem tape. And let me tell you...after this project, that love affair has just been taken to a new level!!!
With just a few simple steps, my pillows went from this:

 |
| yeah, I painted the table too! |
So much better, right?
Even though the process was simple, it did involve two distinct processes: the cover making and the painting. Instead of bombarding you with a super long post, I figured I would spread it out over two days. So, today we will focus on the oh-so-simple process of making no sew pillow covers.
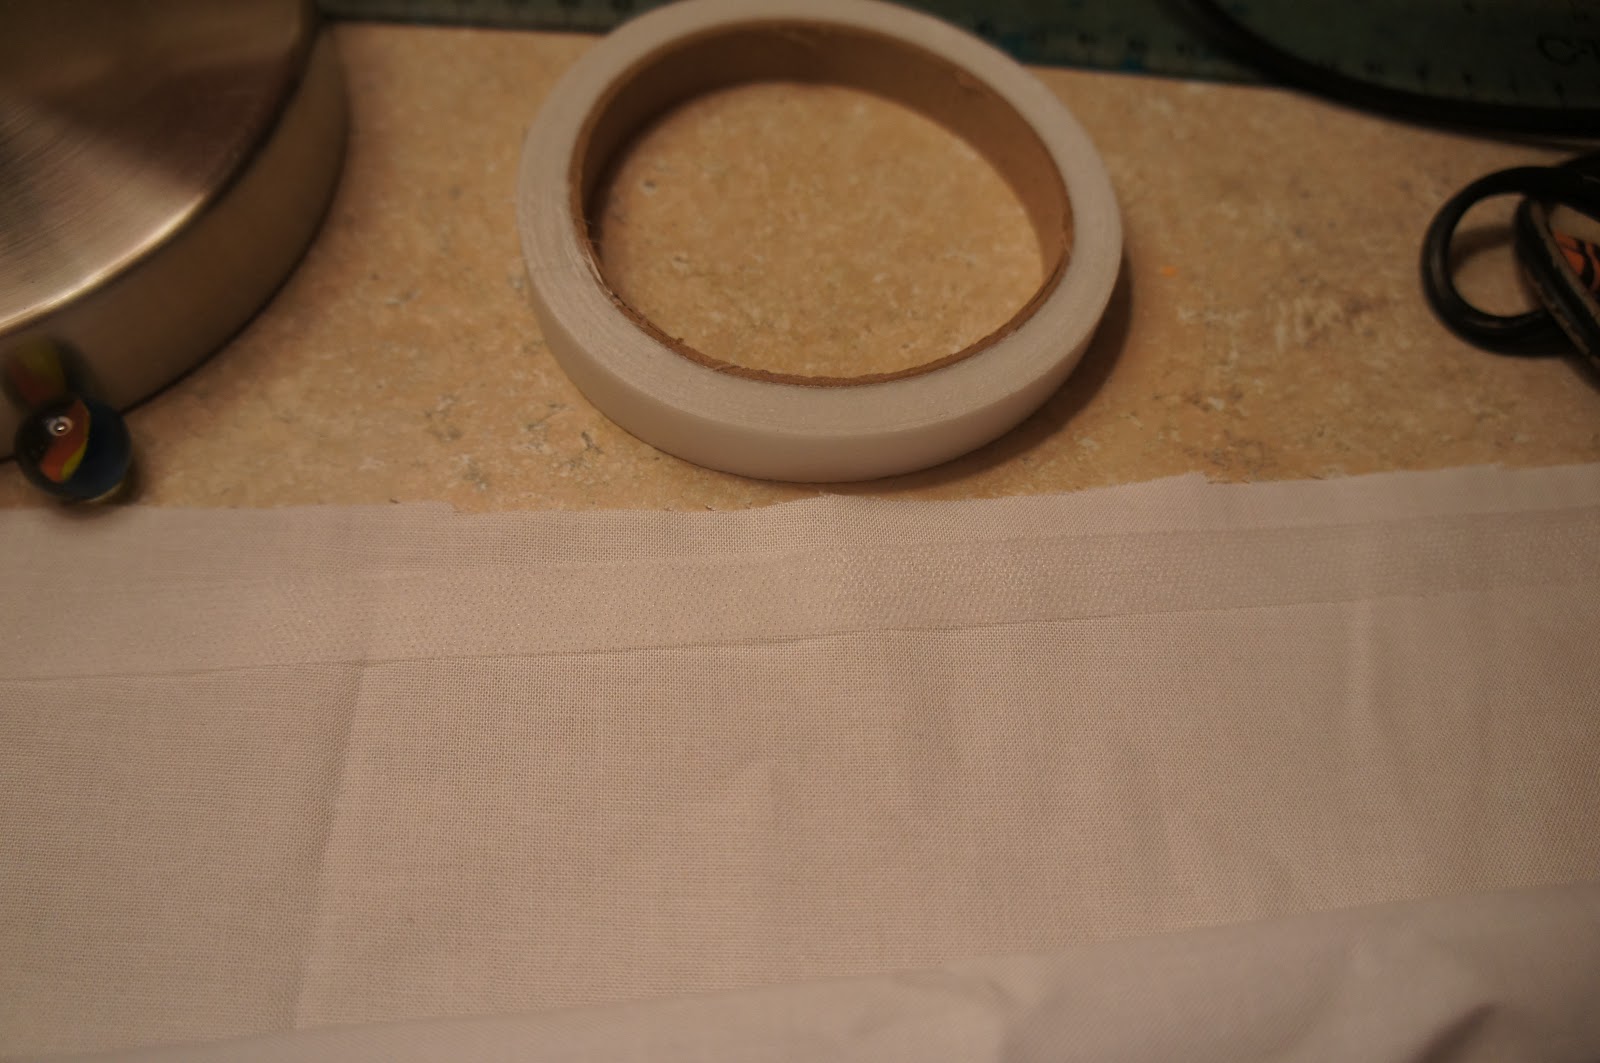
I searched high and low for fabric that fit my color scheme, but I couldn't find anything locally, so I just bought some basic white cotton fabric. Aside from the fabric, I used my new favorite product ever: Steam a Seam.
Let me digress for a second...I have tried just about every iron-hem tape out there, and this stuff is the best!!! It is double stick, which means you don't have to worry about burning your fingers while trying to hold it in place. Plus, it creates very straight edges because you can stick it exactly where you want it. I will never, ever again use another tape!
OK, now back to the simple steps for making no-sew pillow covers.
First, lay the pillow on the fabric and cut out, leaving about an inch or two on all sides (I just eyeballed it).

You will need two squares per pillow (or whatever shape your pillow is). Once the fabric is cut out, lay both pieces on top of each other. You will be putting the pillows together inside out. This didn't matter to my pillows because my fabric was all white, but if you have a print, you are going to need to place the two blank sides together. Use your iron-on tape to fuse three of the sides together.
With the three sides done, turn the pillow case right side out. One side will be left open, so you can insert your pillow into it. Once it is in, use the no-sew tape to close up the last side.

I had to wait to do this, though, because I had big plans to spray paint mine. Yep, you read that right...spray paint...my other favorite DIY product! But like I said, I'll save that part for tomorrow, so be sure to check back...


No comments:
Post a Comment
Make my day...leave a comment